How to Organize Furniture in a Small Living Room
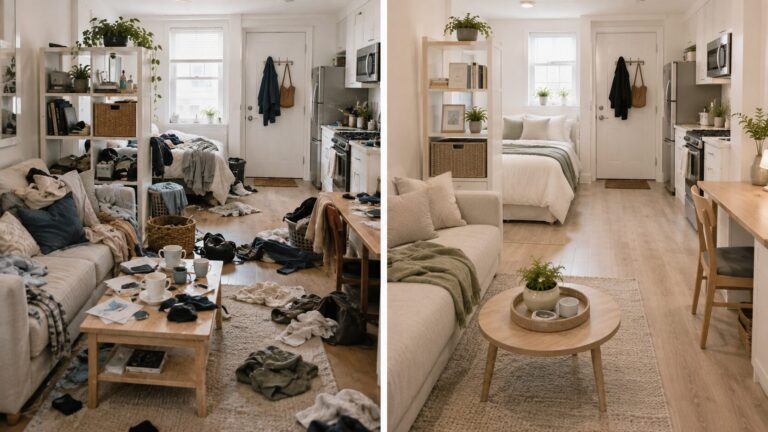
Most people organize furniture by moving it. Physically lift the sofa, see how it feels, shift it a few inches, try the other wall, move the coffee table, realize the path to the kitchen is now blocked, start over.
This works eventually, but it’s exhausting, and in a small living room specifically, it often produces a “good enough” arrangement rather than the actual best one — because by the third or fourth heavy piece of furniture you’ve dragged across the floor, you’re optimizing for being done rather than for the layout that genuinely works best.
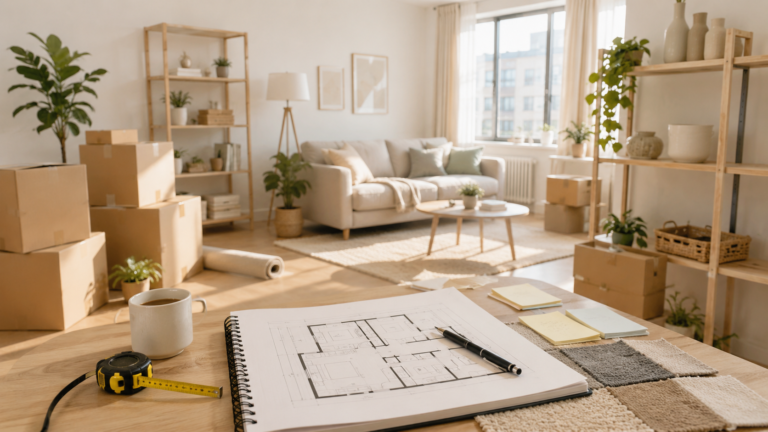
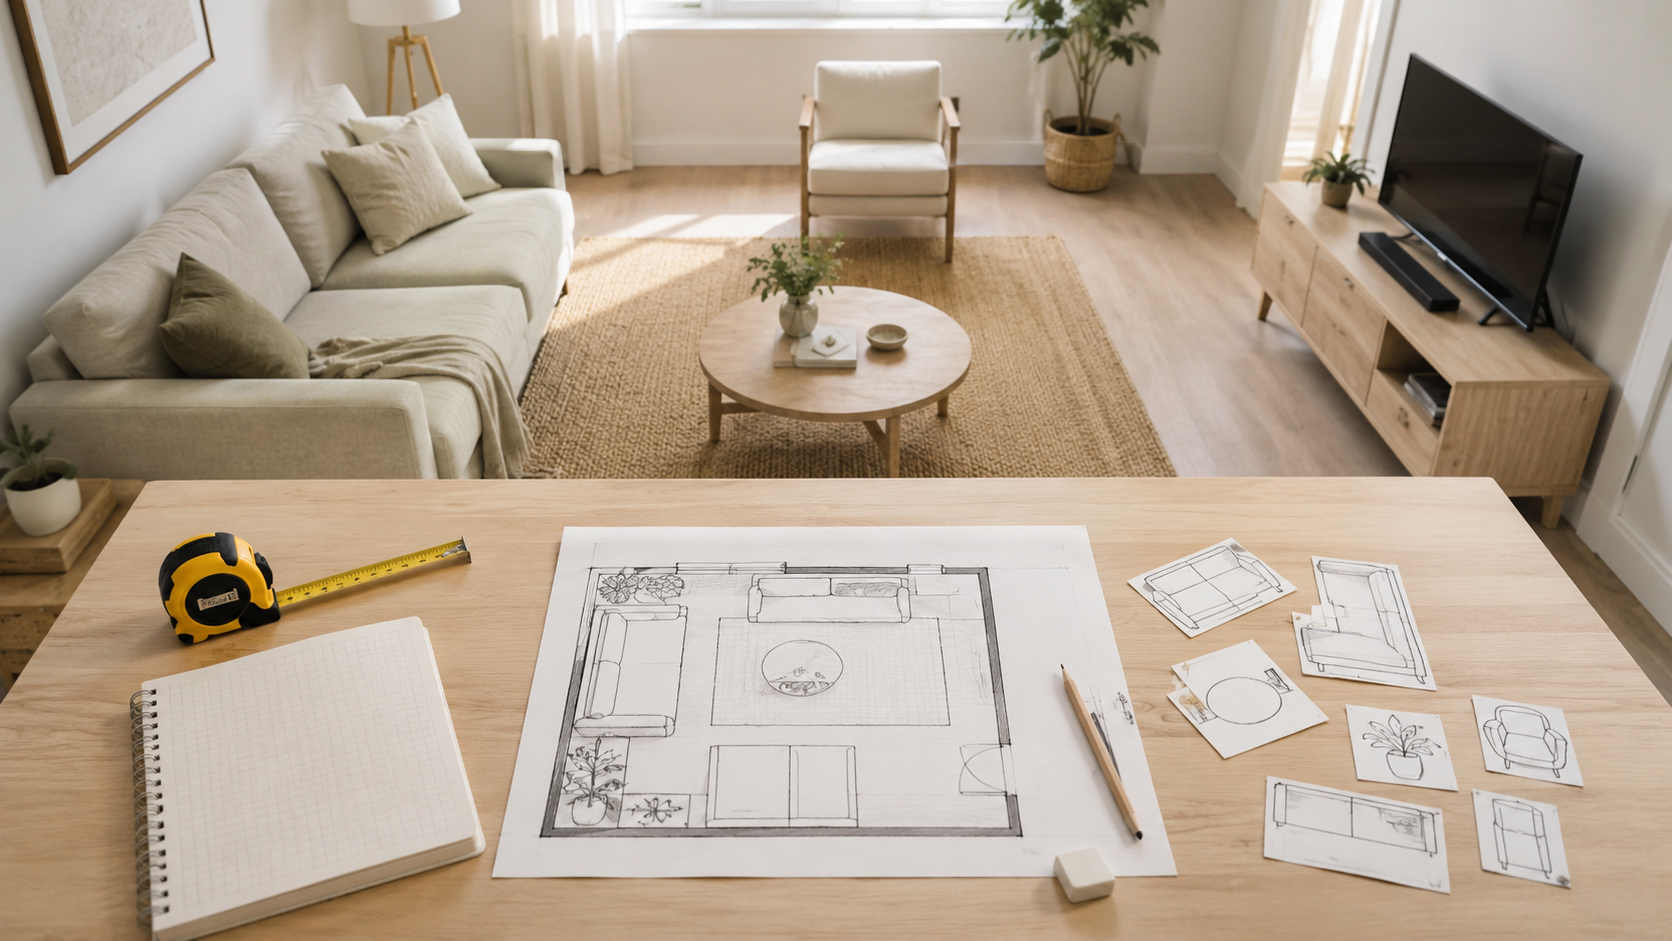
There’s a better process, and it doesn’t require moving a single piece of furniture until you already know where it’s going. It’s the same basic method professional space planners use, scaled down to something anyone can do with a tape measure, a piece of paper, and about thirty minutes before any heavy lifting starts.
This guide walks through that method step by step — measuring accurately, identifying your room’s real constraints, choosing an anchor piece and building outward from it, and testing the plan before committing to it physically. It’s built specifically for small living rooms, where the margin for error is smaller and a misjudged arrangement costs more in wasted effort than it would in a larger space.
Step 1: Measure Everything Before You Touch a Single Piece of Furniture
This step gets skipped more than any other, and skipping it is responsible for most of the frustration people associate with furniture arranging.
Measure the Room
Record the room’s length and width, ceiling height, and the exact position of every door, window, outlet, and any fixed feature (a radiator, a built-in shelf, an awkward support column). Note which way each door swings and how much clearance it needs — a door that swings inward can eliminate more usable wall space than people initially account for.
Measure Every Piece of Furniture
Length, width, and depth for the sofa, any chairs, the coffee table, media console, and anything else going into the room. If you’re buying new pieces, get these dimensions from the product listing before ordering, not after it arrives and you discover it doesn’t fit the space you’d mentally allocated for it.
Write It All Down in One Place
A simple list or a rough sketch with these numbers noted directly on it becomes the single reference point for every decision that follows. Trying to hold all of this in your head while also physically moving furniture is exactly what leads to the exhausting trial-and-error process this method is designed to replace.
Step 2: Identify the Room’s Non-Negotiable Constraints
Before deciding where anything goes, identify what’s fixed and unchangeable about the room, because these constraints determine what layouts are even possible before you get to the more creative decisions.
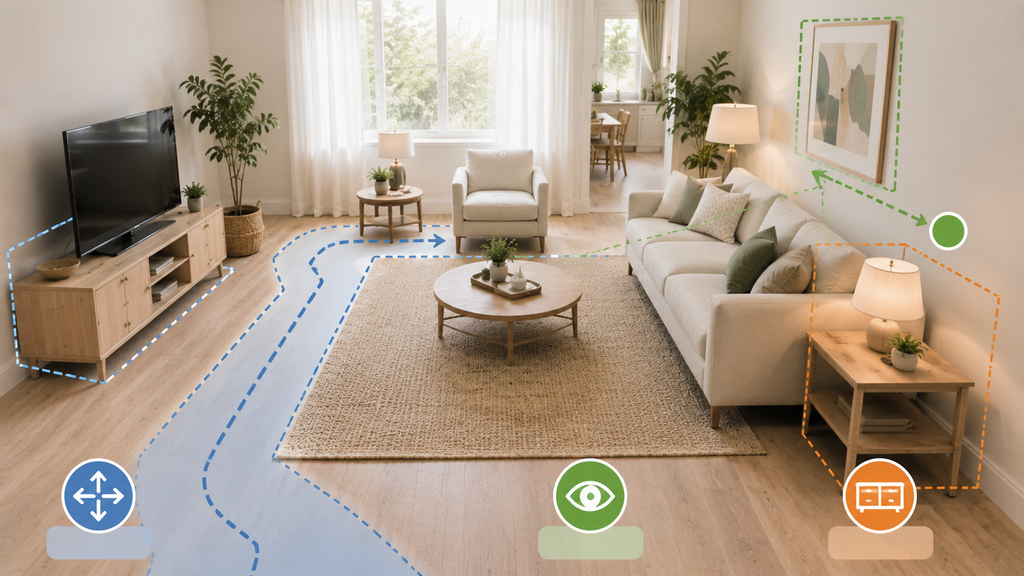
Map the Essential Traffic Path
Identify the route that has to stay clear no matter what — typically the path from the room’s entrance to whatever’s on the other side (a hallway continuing to the kitchen, another doorway, etc.). This path needs a minimum of 30–36 inches of width to function comfortably; anything narrower creates a genuine daily friction point regardless of how the rest of the room is arranged.
Note the Room’s Focal Point
Every living room has (or should have) one primary focal point that furniture logically orients toward — a fireplace, a large window with a good view, or a wall suited to a mounted TV. Identify this before planning furniture placement, since most successful living room arrangements orient the primary seating toward this point rather than toward an arbitrary wall.
Identify Any Genuinely Immovable Furniture
Some pieces — a built-in unit, an extremely heavy media cabinet, anything that’s structurally awkward to relocate — may be effectively fixed in place for practical purposes even if they’re not literally built-in. Treating these as constraints from the start, rather than discovering mid-process that moving them isn’t really feasible, saves significant wasted planning effort.
Step 3: Choose Your Anchor Piece and Commit to It First
Why the Anchor Piece Comes Before Everything Else
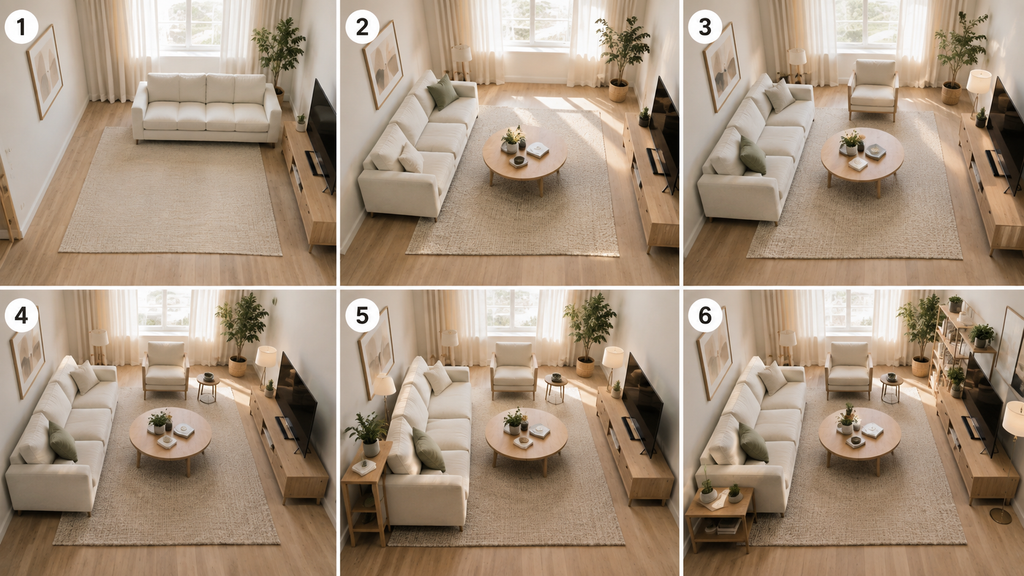
The anchor piece — almost always the sofa in a living room — determines the position and orientation of nearly everything else in the room. Deciding on its placement first, rather than trying to arrange several pieces simultaneously, dramatically simplifies every subsequent decision.
Position the Sofa Relative to the Focal Point
Orient the sofa to face (or be positioned favorably relative to) the room’s identified focal point from Step 2. In most rectangular small living rooms, this means the sofa runs along the room’s longer dimension, facing the shorter wall where the TV or fireplace sits — using the room’s natural proportions rather than fighting them.
Float the Sofa Slightly From the Wall
Rather than pushing the sofa flush against the wall by default, position it with a few inches of clearance behind it, provided the room’s overall depth allows for this without compromising the traffic path identified in Step 2. This small adjustment creates a sense of intentional placement and depth that a flush-to-the-wall default doesn’t achieve, and it’s far easier to decide on paper during planning than to test physically with a heavy sofa already in place.
Step 4: Build Outward From the Anchor Piece
Position the Coffee Table Next
With the sofa’s position committed, the coffee table follows directly — centered in front of the sofa, at a distance of roughly 15–18 inches from the sofa’s front edge, which is close enough for comfortable reach without crowding the space needed to sit down and stand up.
Add Secondary Seating
If the room accommodates an accent chair or additional seating, position it to complete a conversational grouping with the sofa — typically angled toward the coffee table and the sofa rather than placed in a way that creates an isolated seating position disconnected from the main grouping. In a small living room, resist adding secondary seating that doesn’t fit comfortably within this grouping; an accent chair wedged into a spot with no real conversational relationship to the sofa often does more harm than good to the room’s overall function.
Position the TV or Media Unit
If a TV is part of the room, its position should have already influenced the sofa’s orientation in Step 3 (since the TV is often the focal point). Confirm the media console or wall-mounted TV height and position now, checking that the viewing distance from the sofa is appropriate — as a general guideline, viewing distance in inches should be roughly 1.5 to 2.5 times the TV’s diagonal screen size for comfortable viewing.
Add Storage and Surface Pieces Last
Side tables, a console behind the sofa (if there’s clearance for one), and any additional storage furniture come after the primary seating and media arrangement is settled, since these pieces fill in the remaining space around an already-established core layout rather than competing with it for position.
Step 5: Test the Plan Before Moving Anything Heavy
Use Painter’s Tape to Mark Furniture Footprints on the Floor
Before physically moving any furniture, use painter’s tape (which doesn’t damage flooring) to outline the footprint of each major piece directly on the floor, based on the measurements from Step 1 and the placement decisions from Steps 3 and 4. This lets you walk through the proposed arrangement, check that traffic paths feel right, and catch spacing problems before committing to moving heavy furniture into place.
Walk the Space as You Actually Would
Walk from the entrance to wherever the traffic path needs to lead, sit in the taped-out sofa position and check the sightline to the TV or focal point, and simulate opening any doors that swing into the room. This step catches problems — a door that won’t fully open, a sofa position that blocks a window, a coffee table that’s genuinely too close for comfortable knee clearance — while they’re still easy and free to fix.
Adjust the Plan, Not the Furniture, at This Stage
If something doesn’t work during the walk-through, adjust the taped outlines and re-test rather than moving actual furniture into a position you’re not confident about. This is the entire value of the planning method — the expensive, exhausting part (moving heavy furniture) happens only once, after the plan has already been tested and refined on paper and tape.
Common Small Living Room Furniture Organization Mistakes
Pushing Everything to the Walls
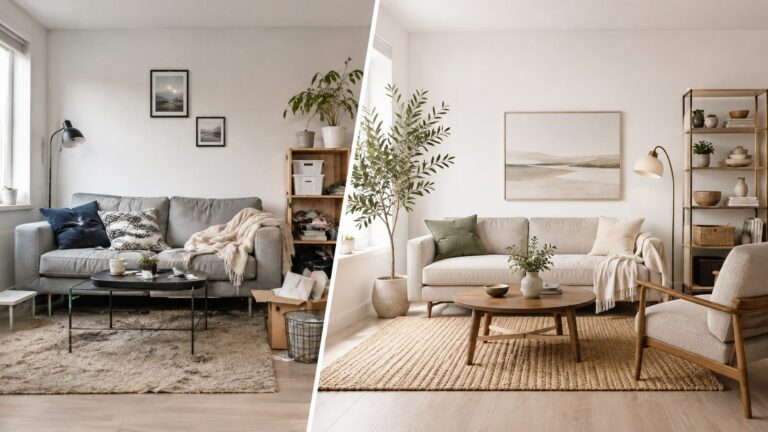
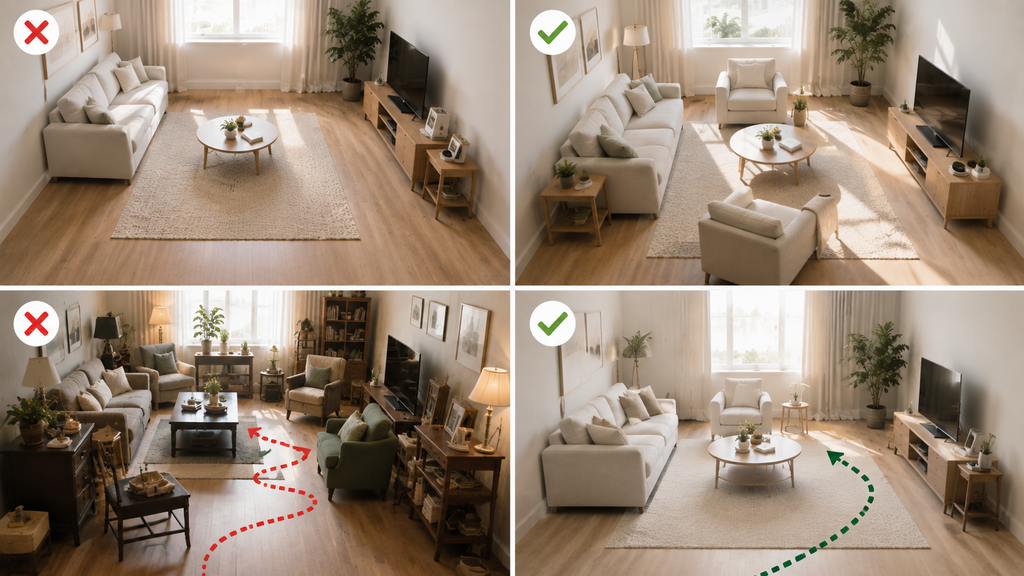
The instinct to maximize open floor space by pushing every piece against a wall often produces a room with an empty, undefined center and furniture that feels scattered around the perimeter rather than working together as a cohesive arrangement. A properly planned central grouping — sofa, coffee table, and any secondary seating positioned to relate to each other — generally looks and functions better than a wall-hugging arrangement, even in a small room.
Ignoring the Traffic Path Until After Furniture Is in Place
Furniture arranged without first identifying the essential traffic path (Step 2) often ends up creating a blocked or awkward route that only becomes apparent once everything is heavy and already in position. Identifying this path before any placement decisions prevents the need to substantially rework an arrangement after the fact.
Buying Furniture Before Finalizing the Plan
A sofa purchased before the room’s layout is planned risks being the wrong size for the space that’s actually available once the traffic path, focal point, and other furniture needs are accounted for. Completing Steps 1 and 2 before finalizing any furniture purchase — particularly the anchor piece — prevents this expensive mistake.
Overcrowding the Room to Fit Every Piece You Own
Not every piece of furniture from a previous, larger living space needs to fit into a small living room. If the plan from Steps 3 and 4 doesn’t have a genuine, functional spot for a piece, it’s worth considering whether that piece belongs in this room at all, rather than forcing it in and compromising the traffic path or the seating arrangement’s coherence.
Organizing Furniture for Specific Small Living Room Challenges
When the Room Has Only One Usable Wall
If the room’s doors, windows, and other features leave only one genuinely open wall for the sofa, that wall becomes the de facto anchor position regardless of the room’s overall proportions. Build the rest of the arrangement (coffee table, secondary seating angled from the sides rather than directly opposite) around this constraint rather than trying to force a layout that assumes more wall options than actually exist.
When the Room Doubles as a Dining or Work Space
If the living room shares space with a dining area or a desk, complete the living room furniture organization process first (Steps 1 through 5), then treat the secondary function as an addition to be fit into whatever space remains, using a rug and distinct furniture orientation to define its boundary as covered in dedicated open-plan and multi-function room guides.
When the Room Is Genuinely Narrow
For narrow living rooms specifically, the anchor piece (the sofa) should run parallel to the room’s length rather than across its width, and the traffic path identified in Step 2 typically needs to run along one side of the room, with the opposite side kept clearer of furniture to avoid the “corridor” feeling narrow rooms are prone to.
Quick Reference: How to Organize Furniture in a Small Living Room
Step 1 — Measure:
- Room dimensions, door swings, window and outlet positions
- Every piece of furniture’s length, width, and depth
- Record everything in one written reference
Step 2 — Identify constraints:
- Map the essential traffic path (30–36 inch minimum width)
- Identify the room’s focal point
- Note any effectively immovable furniture
Step 3 — Place the anchor piece:
- Position the sofa relative to the focal point first
- Float it a few inches from the wall if room depth allows
Step 4 — Build outward:
- Coffee table 15–18 inches from the sofa’s front edge
- Secondary seating angled into the conversational grouping
- TV/media positioned for appropriate viewing distance
- Storage and surface pieces added last, around the established core
Step 5 — Test before committing:
- Use painter’s tape to mark furniture footprints on the floor
- Walk the space as you actually would use it
- Adjust the taped plan, not physical furniture, until it works
Conclusion
How to organize furniture in a small living room comes down to sequence and testing, not talent or instinct. Measuring accurately before anything moves, identifying the room’s real constraints, committing to an anchor piece first, and building outward from it in a deliberate order all matter more than any specific styling choice or design trend.
The painter’s tape testing step is the one most people skip, and it’s arguably the most valuable — it lets you catch a blocked traffic path, an uncomfortable sightline, or a sofa that’s slightly too large for the space while the fix costs nothing more than repositioning a strip of tape, rather than after a heavy sofa is already sitting in the wrong spot.
None of this requires special design training. It requires following the steps in order rather than skipping ahead to physically moving furniture before the plan is actually settled. A small living room organized this way — measured, planned, tested, and only then physically arranged — consistently produces a better result with less wasted effort than the trial-and-error approach most people default to.
Start with the tape measure, not the furniture. Work through each step before moving anything heavy. The process takes longer at the front end and considerably less time overall than the alternative.
Frequently asked questions:
What’s the first step in organizing furniture in a small living room?
Measure everything before moving any furniture — the room’s dimensions, door swing clearances, window and outlet positions, and the exact length, width, and depth of every piece of furniture going into the room. This single step prevents the majority of common furniture organization mistakes, since decisions made without accurate measurements often result in furniture that doesn’t fit the available space once traffic paths and other pieces are accounted for. Write these measurements down or sketch a simple floor plan before making any placement decisions.
How do I know where to put the sofa in a small living room?
Identify the room’s focal point first — a fireplace, a large window, or the wall suited to a mounted TV — then position the sofa to face or relate favorably to that point. In most rectangular small living rooms, this means orienting the sofa along the room’s longer dimension rather than across its width, which uses the room’s natural proportions instead of working against them. The sofa’s position should be decided before any other furniture placement, since it functions as the anchor that the rest of the room’s arrangement builds around.
How much space should I leave for walking through a small living room?
The essential traffic path — the route from the room’s entrance to wherever it continues (a hallway, another doorway) — needs a minimum of 30 to 36 inches of clear width to function comfortably. Anything narrower creates a genuine daily friction point regardless of how well the rest of the room’s furniture is arranged. Identify and protect this path before deciding where any furniture goes, rather than arranging furniture first and discovering afterward that the remaining walkway is too narrow.
Is there a way to test a furniture layout before actually moving heavy pieces?
Yes — use painter’s tape to mark out the footprint of each major piece of furniture directly on the floor, based on your measurements and planned placement, before moving anything physically. This lets you walk through the proposed arrangement, check sightlines and traffic paths, and test whether the spacing actually works, all without the effort of moving heavy furniture. If something doesn’t work during this walk-through, adjust the taped outlines and re-test rather than moving actual furniture into a position you’re not confident about — this is the step that saves the most time and physical effort in the entire process.
What’s the most common mistake people make when arranging furniture in a small living room?
Pushing every piece of furniture against the walls in an attempt to maximize open floor space. This often produces a room with an empty, undefined center and furniture that feels scattered around the perimeter rather than functioning as a cohesive seating arrangement. A properly planned central grouping — sofa, coffee table, and any secondary seating positioned to relate to each other in a genuine conversational arrangement — generally works better both functionally and visually than a wall-hugging layout, even in a small room where the instinct to maximize clear floor space feels intuitive.