Small Apartment Layout Ideas: Room-by-Room Plans That Actually Work
Small apartments share a common problem that has nothing to do with square footage: the layout almost never matches how you actually live.
The bedroom is too narrow for the bed you want. The living room has a window in an awkward spot that makes every furniture arrangement feel off. The kitchen flows into the dining area in a way that makes both feel smaller than they should. The entryway opens directly into the living room, which means guests see the sofa the moment they walk in, with no buffer or transition.
These aren’t failures of imagination. They’re failures of layout planning. A small apartment’s challenges aren’t usually about not having enough space — they’re about not having a clear plan for how the space works together.
This guide approaches small apartment layout ideas the way a designer would: room by room, with specific configurations that work for specific constraints. It covers the decisions that matter most in each space — not just “put the sofa there” but why a particular placement works, what it opens up, and what trade-offs it involves.
Whether you’re moving into a new apartment and starting from scratch or rearranging a place you’ve lived in for years, these layout solutions will help you see your space differently and use it more deliberately.
Before You Arrange Anything: The Planning Process That Saves You Hours
Most people arrange furniture by moving it — physically lifting and shifting until something feels right. In a small apartment, this approach costs an enormous amount of effort and often produces a result that’s “good enough” rather than genuinely good.
Thirty minutes of paper planning before anything moves saves hours of effort and produces a better result.
Measure and Map
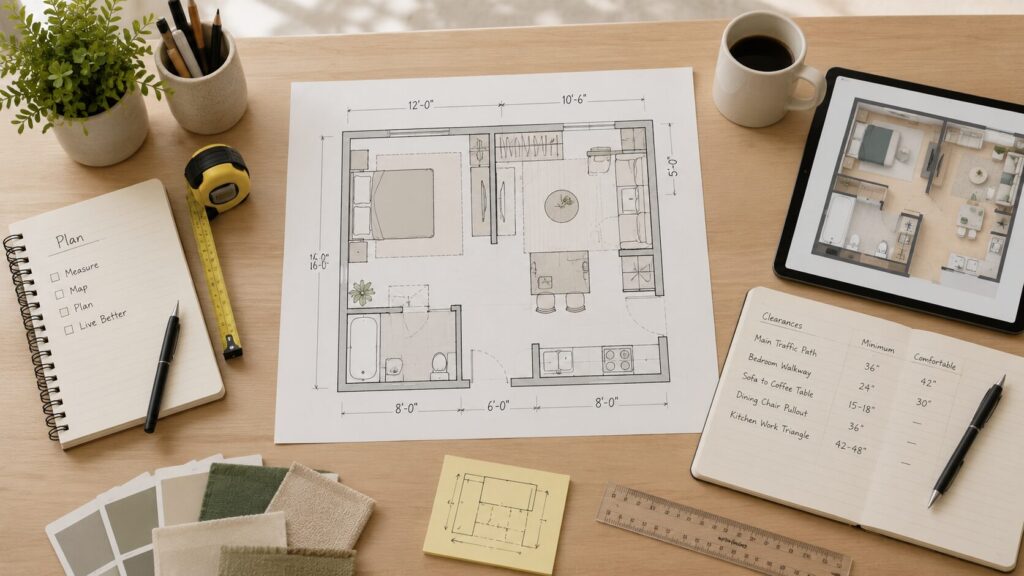
Measure every room in the apartment: length, width, ceiling height, door swing direction and clearance, window positions, and any fixed features like radiators, outlets, built-in shelving, or columns. Write it down or sketch a simple floor plan.
Then measure your furniture — the pieces you own or plan to buy. Length, width, and depth for everything that will go in each room.
With these numbers, you can test furniture configurations on paper (or digitally, using free floor plan tools like Planner 5D or RoomSketcher) before moving anything physically. You’ll immediately see which configurations have adequate clearance, which ones block natural light, and which ones create traffic path problems.
The Clearance Numbers That Matter
Every furniture arrangement needs minimum clearances to function comfortably. In small apartments, these minimums are tight — but they’re the difference between a layout that works and one that’s frustrating to live in.
- Main traffic paths (hallways, the path from front door to kitchen): 36 inches minimum; 42 inches is comfortable
- Bedroom walkways (beside the bed): 24 inches minimum; 30 inches is comfortable
- Sofa to coffee table: 15–18 inches optimal
- Dining chair pullout: 36 inches between table edge and wall/furniture behind the chair
- Kitchen work triangle paths: 42–48 inches between opposing counters for comfortable two-person use
Any layout that consistently falls below these minimums won’t feel good to live in, even if it technically fits.
Small Apartment Living Room
The living room is usually where small apartment layout challenges are most visible — because it’s the space that needs to accommodate the most varied activities in the least square footage.
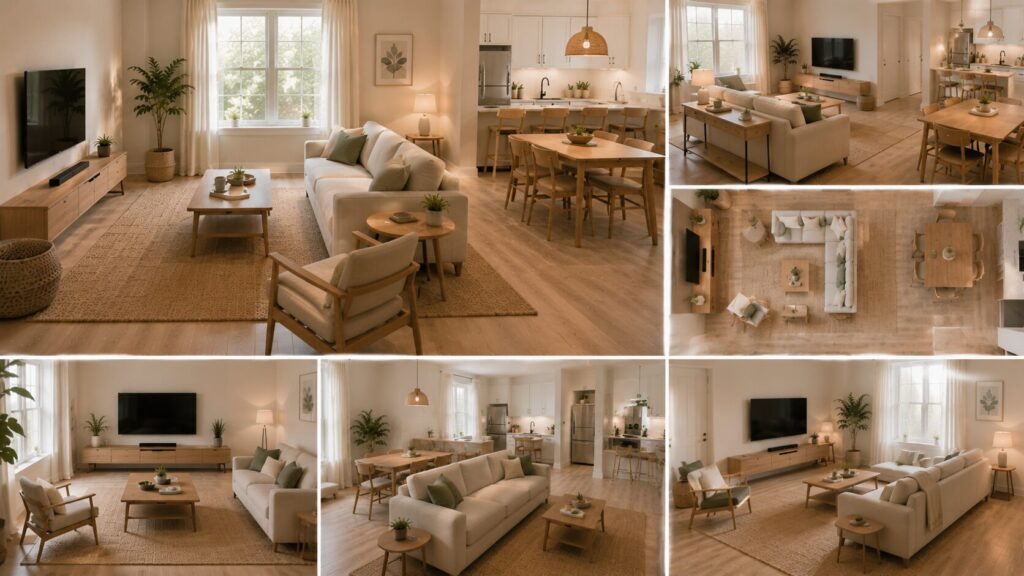
The Open-Anchor Layout
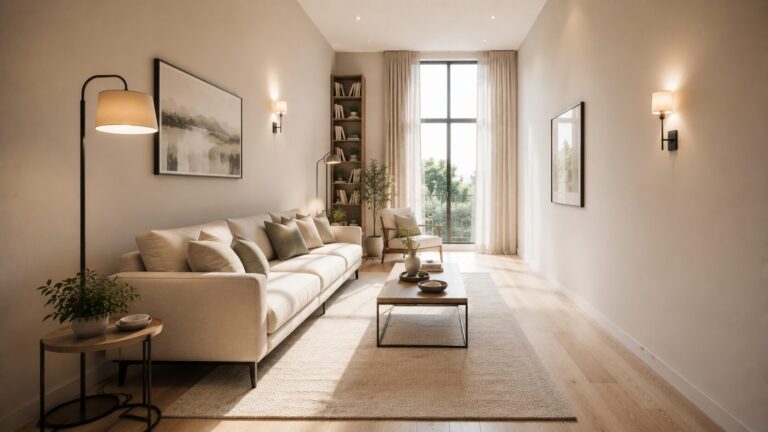
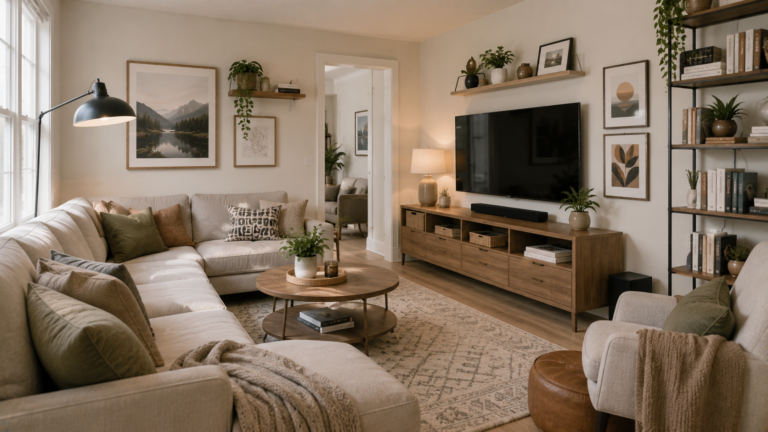
The most reliable layout for a small living room starts with the sofa. Place it facing the room’s natural focal point — the TV wall, the fireplace, or the main window — and anchor it with a rug large enough to extend under its front legs. Everything else builds from there.
What this layout does: by starting from one defined anchor point (sofa + focal point + rug), the living zone has a clear center of gravity. The remaining pieces — a side table, a floor lamp, possibly one accent chair — position themselves relative to that anchor rather than competing with it.
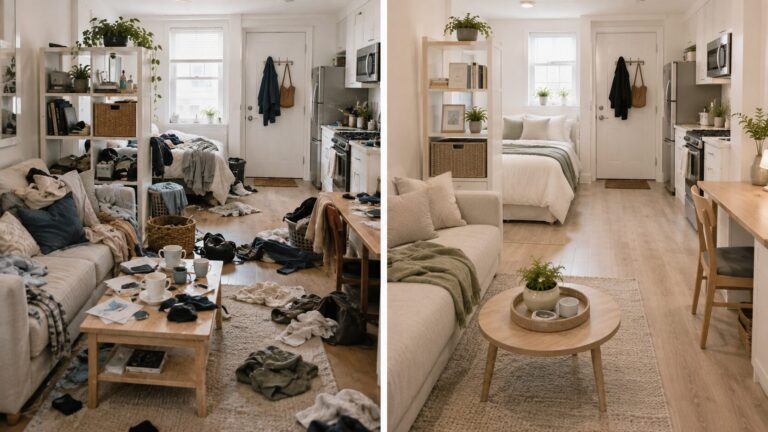
What it avoids: the common mistake of placing every piece of furniture against a wall to “open up” the floor. This creates a waiting-room effect — all the furniture at the edges with nothing defining the center — that makes the room feel less comfortable and no larger than if the furniture were floated slightly.
The furniture-against-walls approach works in narrow rooms (where there’s genuinely no room to float pieces) but not in square or nearly square living rooms, where it just creates a perimeter with an empty middle.
The Living-Dining Split Layout
When the living room shares space with a dining area — common in small apartments where an open-plan layout combines both — the biggest layout challenge is preventing the two zones from visually merging into one large undefined space.
Define each zone separately:
Dining zone: Table parallel to the kitchen counter or galley, with chairs that tuck fully under the table. A pendant light centered above the table activates the zone from above. Keep the table as close to the kitchen as practical so food transport is short and the dining zone has clear identity as part of the “cooking and eating” side of the open plan.
Living zone: Sofa oriented away from the dining table — even by 45 degrees — so the two zones face different directions. This simple furniture orientation change creates implicit separation without any physical divider. A rug under the living zone seating confirms the boundary from below.
Between the two zones: a console table behind the sofa, or a low bookcase oriented perpendicular to the main flow, marks the transition point. It doesn’t need to be dramatic. Even a narrow console with a lamp on it says “the living zone ends here.”
The TV Wall Decision
In small living rooms, where the TV goes determines where the sofa goes, which determines how much of the remaining floor space is usable. It’s worth thinking through before committing.
On the short wall (in a rectangular room): the sofa runs along the length of the room, parallel to the TV wall. The room’s length becomes an asset — the eye travels the length, making the room feel larger in the direction it’s generous in. This is the most common configuration and usually the right one.
On the long wall: the sofa sits perpendicular to the room’s length, cutting across it. This works in narrow rooms where the sofa along the long wall would leave no floor clearance — but in rooms with reasonable width, it’s usually not the better choice because it divides the room’s length rather than using it.
Wall-mounted TV: always the better choice in a small living room. A wall-mounted TV eliminates the TV stand footprint (typically 20–22 inches deep) and opens that floor space for other uses. It also allows the viewing distance to be set optimally regardless of what’s available beneath it.
Small Apartment Bedroom
Bedroom layout in a small apartment is simpler than living room layout in some ways — there are fewer furniture types to work with — but more constrained. The bed is large and fixed. The room is built around it.
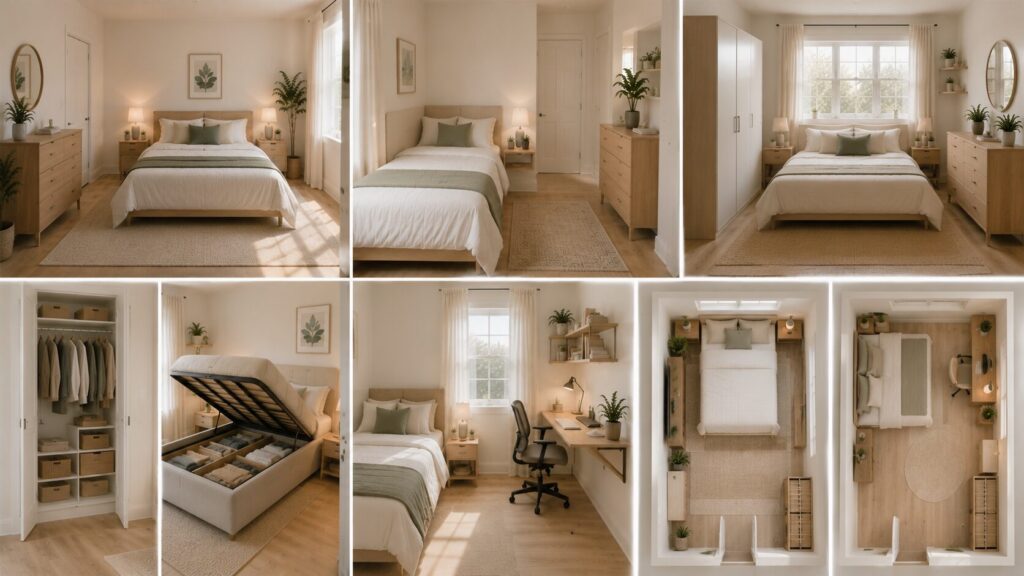
Mapping the Bed First, Then Everything Else
The bed occupies more floor space than any other bedroom piece and determines what every other piece can do. Start by mapping where the bed can actually go before thinking about any other furniture.
Test each wall of the bedroom:
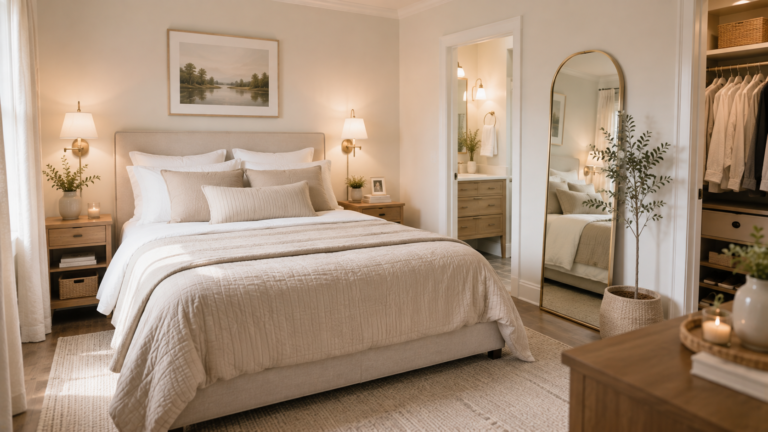
The wall opposite the door: the most traditional and visually satisfying placement. The bed centered on this wall is the first thing you see when you enter — it creates a clear focal point and leaves the sides of the room for other furniture or clearance. Works best when the room is wide enough for at least 24 inches of clearance on each side of the bed.
The side wall: in narrow bedrooms, placing the bed along one of the longer walls and pushing it into the corner (with one side against the wall) frees more open floor space and clearance on the remaining sides. The visual downside: the room loses the centered-on-opposite-wall aesthetic. The practical upside: significantly more usable floor space.
Under the window: discussed in previous articles, but worth reiterating here in the context of overall layout. This placement frees the walls for storage furniture and keeps sightlines open across the room. The only practical concern is a low windowsill that might prevent the window from opening fully above the headboard.
The Bedroom Storage Layout Challenge
In small bedrooms, storage furniture — dressers, wardrobes, bookcases — is necessary but competes directly with the bed for the limited wall space.
The hierarchy that resolves this:
- The bed’s position is fixed first
- Closet access must be clear — the closet door (swing or slide) determines a zone that can’t be filled with furniture
- The dresser or wardrobe goes on whatever wall the bed didn’t claim, in whatever space the closet doesn’t need
- Nightstands come last, using whatever remains — if floor space is too tight, floating wall-mounted nightstands take no floor space at all
Many small bedrooms simply can’t accommodate a full-size dresser on the floor without compromising movement through the space. The storage bed (with drawer or hydraulic lift storage) solves this by moving clothing storage into the bed frame itself, eliminating the dresser as a separate piece.
The Bedroom-Office Hybrid Layout
When the bedroom also needs to serve as a work space, layout planning requires protecting both functions without letting either one colonize the room.
The most successful approach: zone the desk against the wall adjacent to the bed, not facing it. If you sit at the desk and can see the bed directly, the workspace and sleep space compete psychologically — the bed calls during work hours, and the desk presence interferes with winding down.
An adjacent wall — the desk tucked against the side wall while the bed occupies the opposite or end wall — creates enough physical separation that each zone recedes from the other when not in use.
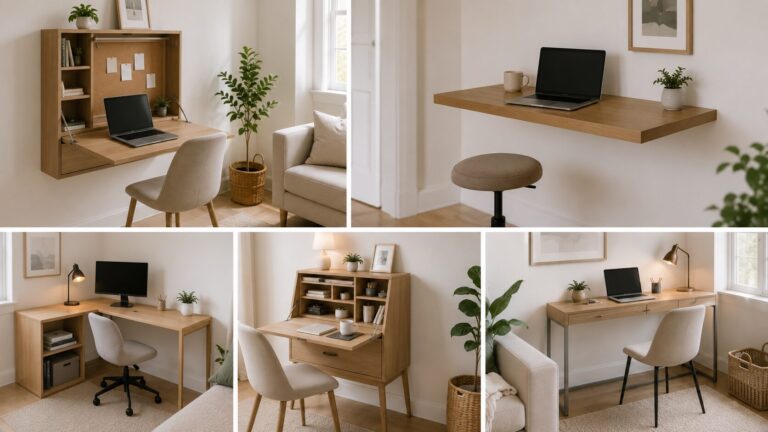
The desk should also be compact: a floating shelf desk or a narrow corner desk rather than a full-size desk that dominates the available wall space. The bedroom is primarily a bedroom — the work function is secondary and the desk should reflect that in its scale and visibility.
Small Apartment Kitchen and Dining Area
Small apartment kitchens are almost always galley kitchens (two parallel counters) or L-shaped kitchens (two perpendicular counter runs). Each has its own layout logic.
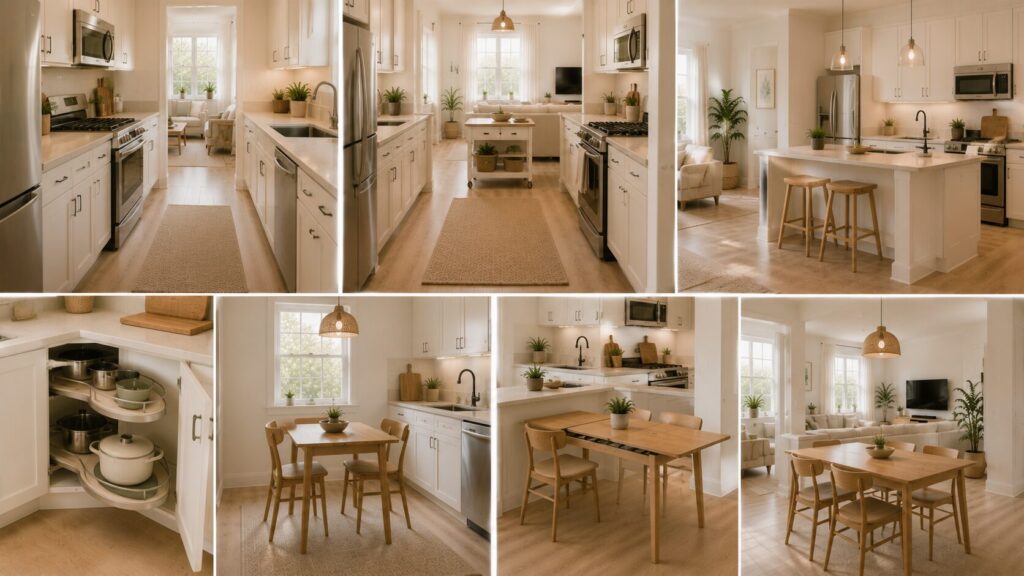
The Galley Kitchen Layout
A galley kitchen is the most efficient layout for cooking — everything is within easy reach on two sides — but the corridor feel can make the kitchen seem smaller than it is.
The layout fix: keep the galley corridor as clear as possible (42–48 inches between opposing counters if the space allows) and remove everything from the counters that doesn’t need to be there. Counter clutter in a galley kitchen is particularly costly because the counter is the only horizontal surface — making it look smaller directly translates to the kitchen feeling smaller.
In a small apartment where the galley kitchen opens to the living or dining area, the end of the galley (the open end, not the closed wall) becomes part of the apartment’s visual field. An island or peninsula at this open end, if the floor plan allows it, creates a transition zone that serves as both additional prep space and a visual barrier between kitchen and living area.
Wheeled kitchen carts are worth mentioning here: a small rolling cart positioned at the open end of the galley adds counter space and storage when needed and rolls out of the way when it isn’t. They’re one of the most practical and flexible additions to a small galley kitchen at minimal cost.
The L-Shaped Kitchen Layout
An L-shaped kitchen uses two perpendicular counter runs, typically in a corner. The corner itself — the inside of the L — is the work triangle hub. It’s also often the most underused space in the kitchen.
Pull-out corner cabinet organizers (lazy Susans or pull-out shelf systems) make the corner interior actually usable rather than a black hole where pots go to be forgotten. This is a modest upgrade that significantly increases the effective storage capacity of an L-kitchen.
The open end of an L-kitchen — the space where the counters end — often becomes the natural entry point for a small dining table. A table that extends from the end of one counter run uses the counter as a visual and physical anchor, keeps the dining zone adjacent to the kitchen for practical food transport, and defines where the kitchen ends and the apartment’s other living areas begin.
The Dining Table That Does More Than One Job
In a small apartment where the dining table is visible from the living area (which is almost always), the table needs to be sized and positioned so it doesn’t dominate the visual field of the apartment’s main living spaces.
Practical sizing guidance: a two-person table (24–28 inches wide, 36–42 inches long) is sufficient for everyday use in a one- or two-person apartment and takes up a fraction of the visual and floor space of a four-person table. An extendable design — with a leaf mechanism that adds 12–18 inches of length when needed — handles occasional hosting without requiring a permanently larger table.
Position the dining table so diners face into the living space or the kitchen, not into a wall. Facing a wall while eating feels constrained. Facing an open space — even just the living area across from the dining zone — makes meals feel more pleasant and the apartment feel more open.
Open-Plan Small Apartment Layout Solutions
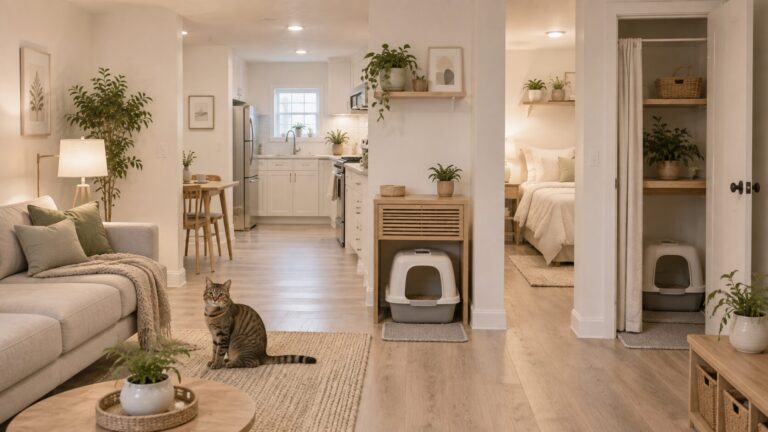
Many small apartments have open-plan layouts where the living room, dining area, and kitchen occupy one continuous space with no walls between them. This maximizes light and the feeling of openness, but creates the specific challenge of defining three functional zones in one undivided floor area.
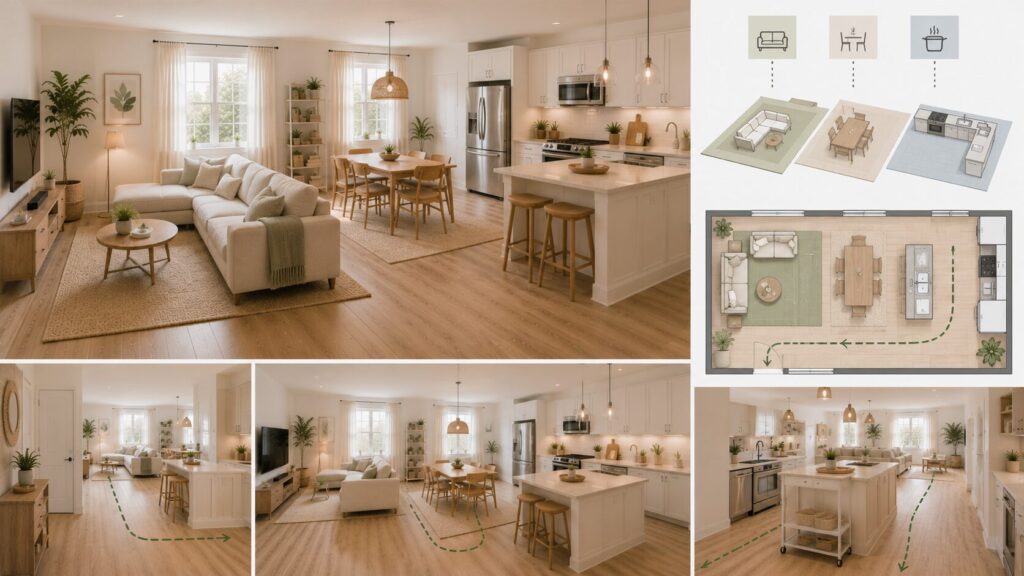
The Layered Zone Strategy
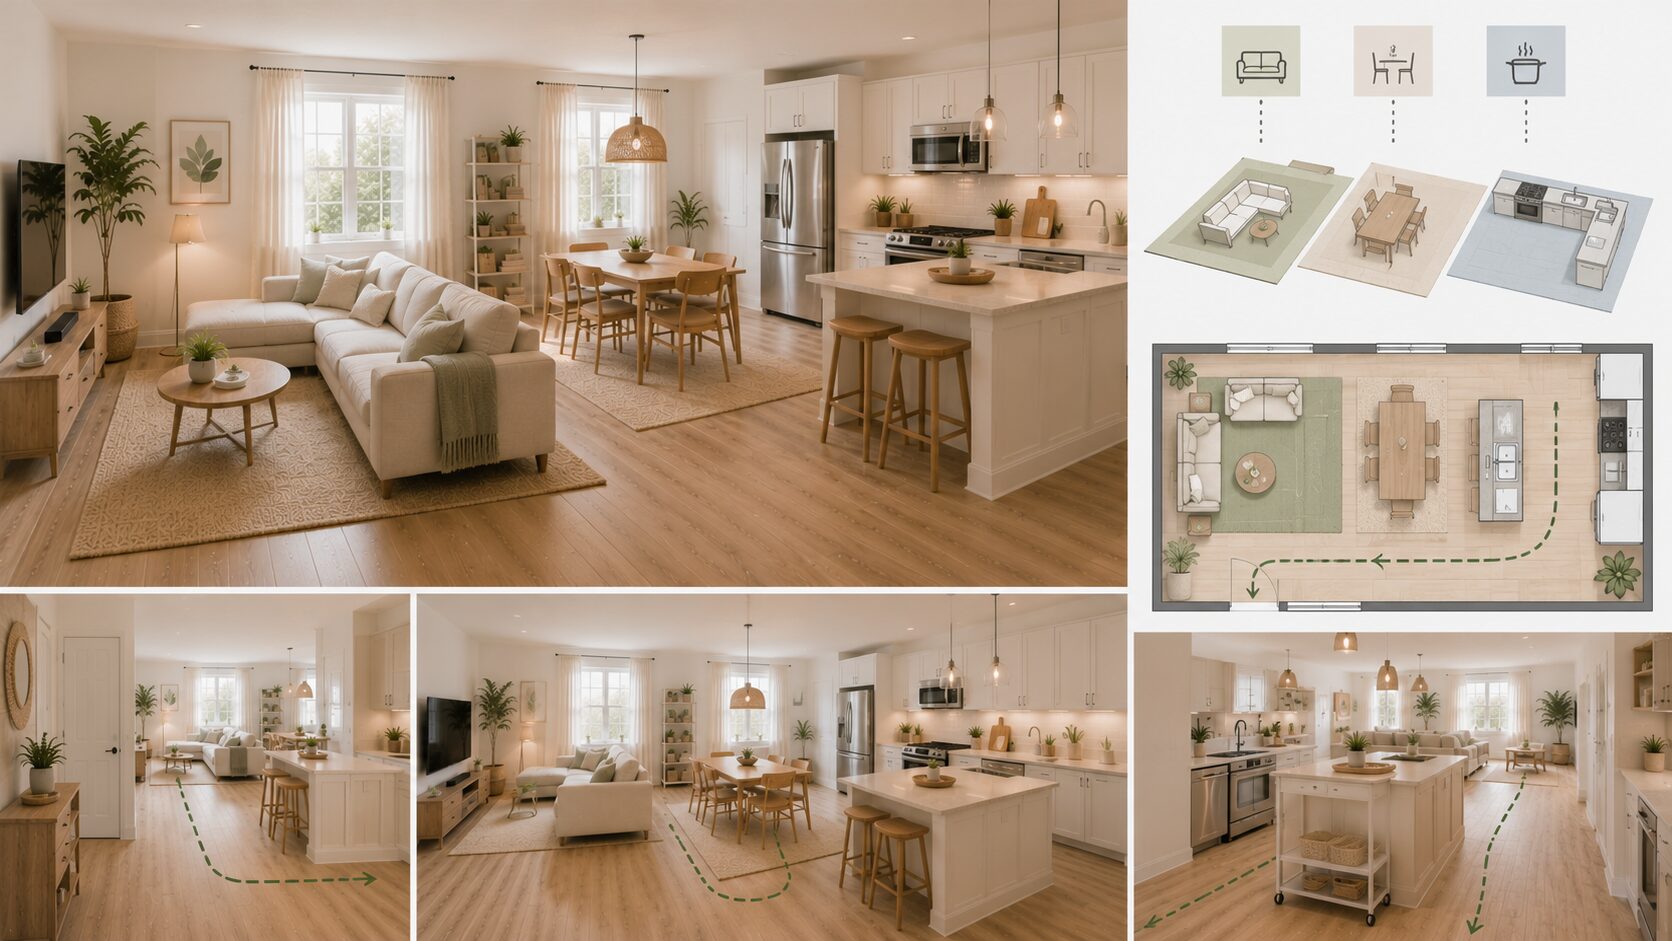
Rather than treating the open plan as one large room with furniture in it, treat it as three distinct zones that happen to share space — and define each one clearly.
The practical layering:
Floor layer: three separate area rugs, one per zone. The kitchen typically has no rug (for practical reasons — spills, foot traffic); the dining zone rug goes under the table and chairs; the living zone rug anchors the sofa arrangement. These two rugs do more for open-plan zone definition than any other single element.
Furniture layer: each zone’s furniture orients toward its own focal point rather than toward a central point in the room. Dining chairs face each other across the table; sofa faces the TV or main window. This orientation gives each zone an internal logic.
Lighting layer: pendant light over the dining table, floor lamp in the living zone, under-cabinet lighting in the kitchen. Each zone has its own light source — when one is lit and the others are dimmer, the active zone feels like a distinct room rather than a section of a larger open space.
Traffic Flow as a Design Element
In an open-plan apartment, traffic flow — the path from the front door to the kitchen, from the kitchen to the sofa, from the bedroom to the bathroom — is the invisible architecture that determines whether the space feels functional or frustrating.
Map the traffic paths before finalizing any furniture arrangement. The main path through the apartment needs 36 inches minimum, ideally 42 inches, and should run alongside furniture zones rather than through them. A path that cuts through the living zone (between the sofa and coffee table, for example) means every time someone walks to the kitchen, they interrupt whatever is happening in the living room.
Design the furniture arrangements so that the natural path through the space runs along the edges of zones — beside the sofa, around the dining table, parallel to the kitchen counter — rather than bisecting any of them.
Practical Takeaways: Small Apartment Layout by Priority
Do this before buying or moving anything:
- Measure every room (length, width, ceiling height, door swings, windows)
- Measure all existing furniture
- Sketch a floor plan and test configurations on paper
- Identify main traffic paths and protect 36–42 inch clearance throughout
Living room priorities:
- Anchor with sofa + focal point + rug (don’t push everything to walls)
- Define dining zone separately with its own rug and pendant light
- Mount the TV on the wall to reclaim the floor footprint
Bedroom priorities:
- Place bed first, then everything else
- Keep closet access fully clear before placing any other furniture
- Use a storage bed or wall-mounted nightstands to eliminate dresser need
- Zone desk on adjacent wall (not facing the bed) in bedroom-office combos
Kitchen and dining priorities:
- Keep 42–48 inches clear in galley corridor
- Use rolling kitchen cart for flexible extra counter space
- Size the dining table for everyday use (two-person) with extension leaf for guests
- Position diners to face open space, not walls
Open-plan priorities:
- Two area rugs (living and dining zones) define the two non-kitchen zones
- Each zone orients toward its own focal point, not a central room point
- Traffic paths run alongside zones, not through them
Conclusion
Small apartment layout ideas work best when they start from a single question: what does each room need to do, and for whom?
The living room layout that works for someone who primarily watches TV and occasionally hosts friends looks different from the one that works for a remote worker who also needs a clear dining area. The bedroom layout that works for one person is different from the one that works for a couple. The open-plan apartment layout that works for a cook who entertains regularly is different from the one that works for someone who rarely cooks.
These articles cover the standard configurations that fit the most common small apartment scenarios. The value isn’t in following any one of them exactly — it’s in understanding the underlying logic (clearances, traffic flow, zone definition, furniture scale) well enough to adapt the principles to your specific apartment and your specific life.
Start with paper planning and the clearance numbers. Map the traffic flow before placing a single piece of furniture. Then build each room’s layout from the largest piece outward, making sure each subsequent piece has adequate clearance and earns its floor space.
A small apartment with a well-planned layout doesn’t feel small. It feels considered. And a considered space is, ultimately, what makes any home pleasant to live in — regardless of how many square feet it contains.
Frequently asked questions:
How do I plan the layout of a small apartment?
Start by measuring everything — every room’s dimensions and every piece of furniture you own or plan to buy. Sketch a simple floor plan on paper, or use a free tool like Planner 5D or RoomSketcher. Test furniture configurations before moving anything physically. The key clearances to protect are: 36–42 inches for main traffic paths, 24–30 inches beside the bed, 15–18 inches between sofa and coffee table, and 36 inches behind dining chairs for pull-out clearance. Plan traffic flow first — make sure the natural path from the front door to the kitchen to the bedroom doesn’t cut through any seating zones. Once traffic flow is protected, arrange furniture zones around it.
What furniture arrangement makes a small apartment look bigger?
The arrangements that make the biggest visual difference are: floating the sofa 4–6 inches from the wall rather than pushing it flush (this creates depth behind the sofa that reads as open space); keeping the floor as clear as possible by using vertical storage on walls rather than floor-level storage pieces; choosing a sofa and chairs with exposed legs so the floor is visible beneath them; mounting the TV on the wall rather than using a media console; and using one large rug per zone rather than several small rugs that fragment the floor plane. Consistent color and flooring across zones also helps the apartment read as one continuous space rather than a series of small compartments.
How do you layout a one-bedroom apartment?
In a one-bedroom apartment, the layout decisions concentrate in three main zones. The living room: anchor the sofa facing the TV wall with a rug underneath, and define a dining zone with its own rug and pendant light near the kitchen. The bedroom: place the bed on the wall opposite the door for the most visually satisfying arrangement, or against a side wall in a corner if the room is narrow; keep closet access clear before placing any other furniture. The kitchen: if it’s a galley, keep 42–48 inches clear between opposing counters and clear the counters of non-essential items. The open transition between these zones — where one ends and another begins — matters as much as the individual zone layouts.
How do I arrange furniture in an open-plan small apartment?
Define each zone separately before thinking about how they connect. Place a rug under the dining table and a separate rug under the living zone sofa arrangement — these two rugs create distinct floor planes that the eye reads as separate rooms even without walls. Orient each zone’s furniture toward its own focal point (dining chairs face each other across the table; sofa faces the TV or window) rather than toward a single central point in the room. Give each zone its own light source — a pendant over the dining table, a floor lamp in the living zone. And map the traffic path through the apartment before finalizing anything: the path from the door to the kitchen should run alongside furniture zones, not through them.
What is the best sofa size for a small apartment?
For most small apartments, a sofa between 72 and 84 inches wide (a two-and-a-half to three-seat size) is the right scale. A loveseat (52–60 inches) is often too small to anchor the living zone visually — it makes the zone look understated and doesn’t provide enough seating for most households. A full three-seat sofa at 90 inches or more starts to dominate small living rooms and leaves tight clearances on the sides. The sofa depth matters as much as width: a depth of 32–36 inches is the comfortable range for small apartments; 38–42 inches starts to feel like the sofa is eating the room. Low-back sofas (back height 30–32 inches) keep sightlines open across the apartment and make the space feel more open from the entry point.